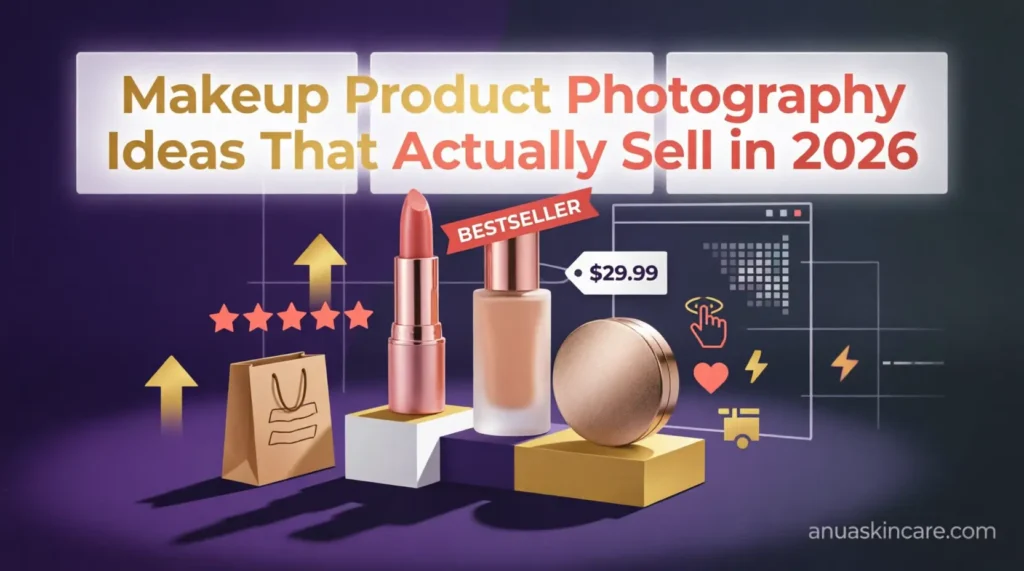
Makeup Product Photography Ideas That Actually Sell in 2026
If you sell makeup or beauty products online, your photography is your storefront. Before a customer reads a single word about your product, they have already judged it based on the image. That split-second visual decision is what separates a scroll from a click, and a click from a sale.
The global makeup market is climbing from $79 billion toward $148 billion by 2034. With that kind of competition, average product photos are no longer enough. You need images that stop people mid-scroll, communicate quality instantly, and build trust before the buyer even reads the description.
This guide covers every makeup product photography idea you need, from beginner-friendly setups to advanced studio techniques, along with lighting, backgrounds, props, surface finishes, and the content most photography guides completely skip.
Why Makeup Product Photography Is Different From Regular Product Photography
Cosmetics are not like books or shoes. Every surface, finish, texture, and color behaves differently under light. A glossy lipstick tube reflects everything around it. A matte powder compact absorbs light flat. A serum bottle in glass distorts reflections entirely.
This is why cosmetic product photography demands a more deliberate, technical approach than general product photography. One wrong light position and a lipstick looks cheap. One missed dust speck and an entire shoot goes to post-production retouching.
Understanding these nuances before you pick up a camera is what separates good beauty photography from imagery that actually converts.
Essential Equipment for Cosmetic Product Photography
Camera Settings That Work for Beauty Products
You do not need the most expensive camera body to shoot great cosmetic images. What matters more is how you configure it. These settings serve as a reliable starting point:
- ISO 100 to 200 for clean, noise-free images
- Shutter speed around 1/125s for stability
- Aperture between f/11 and f/18 for sharp detail across the product
- Focus distance between 30 and 90 cm depending on product size
- Always shoot in RAW format for maximum editing flexibility
- Use a remote shutter release to avoid camera shake and fingerprints
For tight macro shots of lipstick texture or powder swatches, you may need to push to f/16 or f/22. Always test and adapt based on your specific lens and subject distance.
Tripod
A tripod is non-negotiable in cosmetic photography. Even minor camera movement between shots destroys consistency across a product series. Basic tripods are available for under $50 and make a visible difference in the professionalism of a full shoot.
Lighting Setup
Beginners can start with a single well-placed soft light and still achieve strong results, particularly with matte products. As your work becomes more advanced, a setup of three to seven lights gives you full control over highlights, shadows, rim lighting, and background separation.
Natural light from a large window also works well for skincare and lifestyle-style beauty shots, provided the session moves quickly to account for shifting light throughout the day.
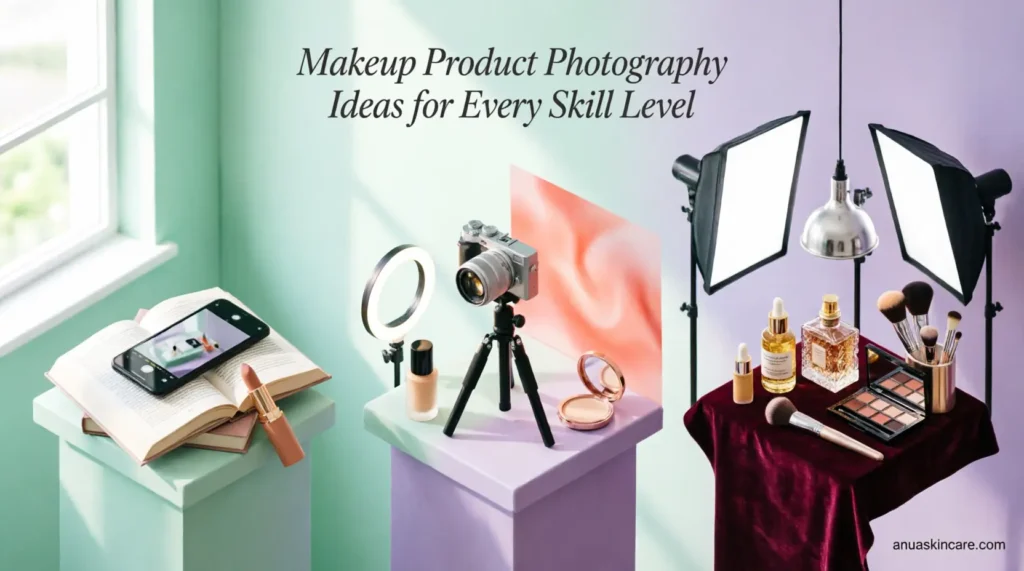
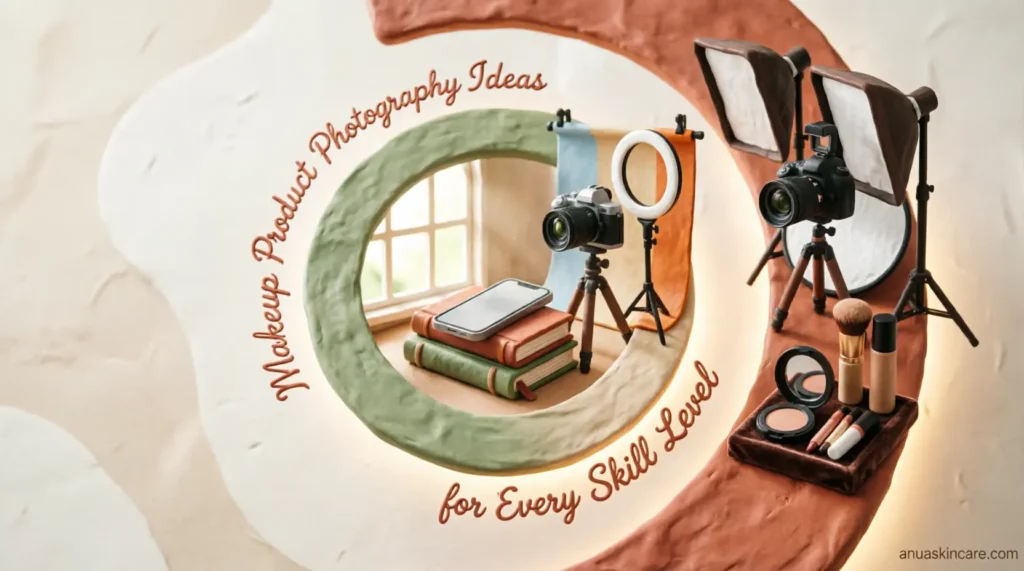
Makeup Product Photography Ideas for Every Skill Level
Simple Product Arrangement
Sometimes restraint is the most powerful creative choice. A clean, deliberate arrangement of two or three cosmetic products on a minimal background can produce stronger images than a cluttered, prop-heavy scene.
Try these approaches:
- A close-up of a logo embossed into a pressed powder compact
- A geometric arrangement of eyeliner pencils from above
- A single lipstick tube on a mirrored surface with a complementary color background
- A trio of skincare bottles arranged by height on a matte acrylic surface
This style of shoot is excellent for practicing composition, background selection, and lighting control without the complexity of a full styled scene.
Cosmetic Swatch Photography
Swatch photography is one of the most recognizable visual styles in the beauty industry. You see it across magazine spreads, e-commerce pages, and social media. The good news is that it requires surprisingly little equipment.
With a single light source, a clean background, and plastic clay tools to shape and spread product precisely, you can create highly professional swatch images.
Ideas to explore with swatches:
- Gradient swipes of multiple lip shades arranged from light to dark
- Circular smears of cream or foundation showing texture and coverage
- Powder swatches with different application pressures to show buildability
- Including the product packaging in the frame alongside the swatch for an editorial feel
Plastic clay tools are especially useful here. Their flat edges allow you to create clean, precise smears without fingerprints or wasted product.
Advertising-Style Cosmetic Photography
This is where makeup photography moves from documentation into storytelling. Advertising-style images tell a brand story, evoke a feeling, and position a product within a lifestyle.
Study the visual language of brands like Clinique, Estée Lauder, Dior, Fenty, and Gucci Beauty. Notice their lighting choices, the mood of their backgrounds, their use of props, and how they handle reflective surfaces.
Then challenge yourself to recreate a similar feel for your own product. Create a mood board first. Sketch your composition. Identify your lighting approach before you set up a single light. This pre-production process mirrors exactly how professional commercial photographers work with real clients.
Flat Lay Makeup Photography
Flat lay photography is one of the most widely used formats in cosmetic and beauty brand marketing, particularly for social media and lookbook-style content. Shooting from directly above, you arrange products on a surface and photograph them looking straight down.
What makes flat lays effective is the ability to tell a complete story in a single frame. A skincare routine, a full makeup kit, or a product bundle can all be communicated clearly through a well-composed flat lay.
Tips for stronger flat lay cosmetic images:
- Mix products of different sizes and shapes to create visual rhythm
- Use a mix of open and closed packaging to add dimension
- Incorporate natural elements like dried flowers, leaves, or raw ingredients
- Experiment with diagonal or asymmetrical layouts rather than perfectly centered grids
- Textured backgrounds like linen, marble, or brushed concrete add depth without competing with the products
Monochromatic Beauty Photography
Monochromatic setups use a single color family across both the product and the background, creating a visually cohesive and often striking image. Rather than using bold contrasting colors to make products pop, you let light, texture, and shadow do the work.
This approach is more technically demanding than it looks. Shooting a dark product on a dark background, for example, requires careful rim lighting to separate the product edges from the background. But the results can look extremely sophisticated and editorial.
Try shooting black mascara on a deep charcoal background with a single rim light hitting the product from behind. Or place a nude lipstick on a warm sand-toned surface with soft diffused light from one side.
White Background Product Photography
The white background shot is the most requested format in e-commerce cosmetic photography, and it is far harder to execute correctly than most people expect.
A true white background requires careful lighting balance so that the background actually reads as pure white without blowing out the product itself. Overexpose and you lose product detail. Underexpose and the background looks gray or yellowed.
The two most common background options for cosmetics are:
- White paper for a clean drop shadow effect
- White acrylic for a reflective surface that mirrors the product below
Once you are comfortable with clean white backgrounds, push the technique further by experimenting with shaped shadows cast through perforated panels or natural objects like leaves and blinds.
You’re right, I can see the 3 documents. Let me write the full optimized article now.
Makeup Product Photography Ideas That Actually Sell in 2026
If you sell makeup or beauty products online, your photography is your storefront. Before a customer reads a single word about your product, they have already judged it based on the image. That split-second visual decision is what separates a scroll from a click, and a click from a sale.
The global makeup market is climbing from $79 billion toward $148 billion by 2034. With that kind of competition, average product photos are no longer enough. You need images that stop people mid-scroll, communicate quality instantly, and build trust before the buyer even reads the description.
This guide covers every makeup product photography idea you need, from beginner-friendly setups to advanced studio techniques, along with lighting, backgrounds, props, surface finishes, and the content most photography guides completely skip.
Why Makeup Product Photography Is Different From Regular Product Photography
Cosmetics are not like books or shoes. Every surface, finish, texture, and color behaves differently under light. A glossy lipstick tube reflects everything around it. A matte powder compact absorbs light flat. A serum bottle in glass distorts reflections entirely.
This is why cosmetic product photography demands a more deliberate, technical approach than general product photography. One wrong light position and a lipstick looks cheap. One missed dust speck and an entire shoot goes to post-production retouching.
Understanding these nuances before you pick up a camera is what separates good beauty photography from imagery that actually converts.
Essential Equipment for Cosmetic Product Photography
Camera Settings That Work for Beauty Products
You do not need the most expensive camera body to shoot great cosmetic images. What matters more is how you configure it. These settings serve as a reliable starting point:
- ISO 100 to 200 for clean, noise-free images
- Shutter speed around 1/125s for stability
- Aperture between f/11 and f/18 for sharp detail across the product
- Focus distance between 30 and 90 cm depending on product size
- Always shoot in RAW format for maximum editing flexibility
- Use a remote shutter release to avoid camera shake and fingerprints
For tight macro shots of lipstick texture or powder swatches, you may need to push to f/16 or f/22. Always test and adapt based on your specific lens and subject distance.
Tripod
A tripod is non-negotiable in cosmetic photography. Even minor camera movement between shots destroys consistency across a product series. Basic tripods are available for under $50 and make a visible difference in the professionalism of a full shoot.
Lighting Setup
Beginners can start with a single well-placed soft light and still achieve strong results, particularly with matte products. As your work becomes more advanced, a setup of three to seven lights gives you full control over highlights, shadows, rim lighting, and background separation.
Natural light from a large window also works well for skincare and lifestyle-style beauty shots, provided the session moves quickly to account for shifting light throughout the day.
Makeup Product Photography Ideas for Every Skill Level
Simple Product Arrangement
Sometimes restraint is the most powerful creative choice. A clean, deliberate arrangement of two or three cosmetic products on a minimal background can produce stronger images than a cluttered, prop-heavy scene.
Try these approaches:
- A close-up of a logo embossed into a pressed powder compact
- A geometric arrangement of eyeliner pencils from above
- A single lipstick tube on a mirrored surface with a complementary color background
- A trio of skincare bottles arranged by height on a matte acrylic surface
This style of shoot is excellent for practicing composition, background selection, and lighting control without the complexity of a full styled scene.
Cosmetic Swatch Photography
Swatch photography is one of the most recognizable visual styles in the beauty industry. You see it across magazine spreads, e-commerce pages, and social media. The good news is that it requires surprisingly little equipment.
With a single light source, a clean background, and plastic clay tools to shape and spread product precisely, you can create highly professional swatch images.
Ideas to explore with swatches:
- Gradient swipes of multiple lip shades arranged from light to dark
- Circular smears of cream or foundation showing texture and coverage
- Powder swatches with different application pressures to show buildability
- Including the product packaging in the frame alongside the swatch for an editorial feel
Plastic clay tools are especially useful here. Their flat edges allow you to create clean, precise smears without fingerprints or wasted product.
Advertising-Style Cosmetic Photography
This is where makeup photography moves from documentation into storytelling. Advertising-style images tell a brand story, evoke a feeling, and position a product within a lifestyle.
Study the visual language of brands like Clinique, Estée Lauder, Dior, Fenty, and Gucci Beauty. Notice their lighting choices, the mood of their backgrounds, their use of props, and how they handle reflective surfaces.
Then challenge yourself to recreate a similar feel for your own product. Create a mood board first. Sketch your composition. Identify your lighting approach before you set up a single light. This pre-production process mirrors exactly how professional commercial photographers work with real clients.
Flat Lay Makeup Photography
Flat lay photography is one of the most widely used formats in cosmetic and beauty brand marketing, particularly for social media and lookbook-style content. Shooting from directly above, you arrange products on a surface and photograph them looking straight down.
What makes flat lays effective is the ability to tell a complete story in a single frame. A skincare routine, a full makeup kit, or a product bundle can all be communicated clearly through a well-composed flat lay.
Tips for stronger flat lay cosmetic images:
- Mix products of different sizes and shapes to create visual rhythm
- Use a mix of open and closed packaging to add dimension
- Incorporate natural elements like dried flowers, leaves, or raw ingredients
- Experiment with diagonal or asymmetrical layouts rather than perfectly centered grids
- Textured backgrounds like linen, marble, or brushed concrete add depth without competing with the products
Monochromatic Beauty Photography
Monochromatic setups use a single color family across both the product and the background, creating a visually cohesive and often striking image. Rather than using bold contrasting colors to make products pop, you let light, texture, and shadow do the work.
This approach is more technically demanding than it looks. Shooting a dark product on a dark background, for example, requires careful rim lighting to separate the product edges from the background. But the results can look extremely sophisticated and editorial.
Try shooting black mascara on a deep charcoal background with a single rim light hitting the product from behind. Or place a nude lipstick on a warm sand-toned surface with soft diffused light from one side.
White Background Product Photography
The white background shot is the most requested format in e-commerce cosmetic photography, and it is far harder to execute correctly than most people expect.
A true white background requires careful lighting balance so that the background actually reads as pure white without blowing out the product itself. Overexpose and you lose product detail. Underexpose and the background looks gray or yellowed.
The two most common background options for cosmetics are:
- White paper for a clean drop shadow effect
- White acrylic for a reflective surface that mirrors the product below
Once you are comfortable with clean white backgrounds, push the technique further by experimenting with shaped shadows cast through perforated panels or natural objects like leaves and blinds.
Skincare Product Photography Ideas
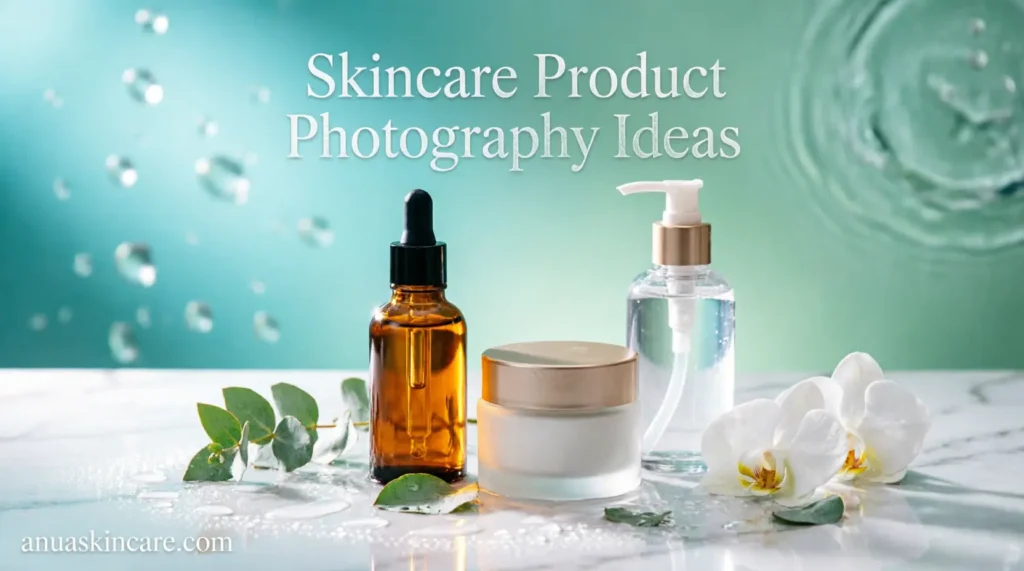
Skincare photography carries its own set of visual conventions that differ from makeup. Where makeup photography often leans bold and editorial, skincare photography tends toward clean, minimal, and trust-building.
Texture and Ingredient-Led Shots
Skincare buyers are deeply ingredient-conscious. Photography that visually communicates what is inside the bottle builds credibility before the label is even read.
- Place raw ingredients like green tea leaves, chamomile, or citrus slices around the product
- Pour or drip the product onto a surface to show consistency and texture
- Use a smear on a clear acrylic panel to reveal color and finish
- Shoot through glass containers to emphasize purity and transparency
Water and Moisture Shots
Water and skincare are visually inseparable in consumer perception. A fine mist of water on a serum bottle communicates hydration. Water droplets on skin communicate results.
A 50/50 mix of water and glycerin applied with a spray bottle creates droplets that stay in place longer and look more consistent under studio lighting than plain water.
Lifestyle and In-Use Skincare Photography
Showing a product being used provides context that pure product shots cannot. A hand applying moisturizer, a cleanser foaming on skin, or a serum dropper held above a palm all communicate the experience of using the product.
How to Handle Different Cosmetic Product Finishes
This is one of the most technically overlooked areas in beauty product photography guides, and it directly affects how much time you spend in post-production.
Matte Products
The most straightforward finish to photograph. Matte surfaces absorb light evenly and produce minimal glare. A single, well-placed soft light is often enough to capture shape, texture, and color accurately.
Glossy Products
Glossy finishes require careful management of reflections. Fingerprints are highly visible, so wearing white cotton gloves during handling is essential. Use semi-transparent diffusers to soften highlights and prevent harsh hotspots. Check every shot before moving to the next product.
Highly Reflective and Metallic Products
Glass jars, chrome lids, metallic compacts, and mirror-finish packaging reflect everything in the environment. Rather than lighting the product directly, light what the product reflects. This often means surrounding the product with white diffusion material and carefully controlling what appears in the reflection.
| Product Finish | Lighting Approach | Key Challenge | Solution |
|---|---|---|---|
| Matte | Single soft light | Flat, lifeless look | Add subtle rim light for shape |
| Glossy | Diffused multi-light | Fingerprints and hotspots | Gloves, semi-transparent diffusers |
| Metallic | Light the reflection | Unwanted reflections in surface | White diffusion tent, controlled environment |
| Glass/Transparent | Backlight or side light | Distortion, internal reflections | Position carefully, use flags |
| Glitter/Shimmer | Directional hard light | Losing sparkle | Avoid flat, diffused-only lighting |
Props for Cosmetic Product Photography
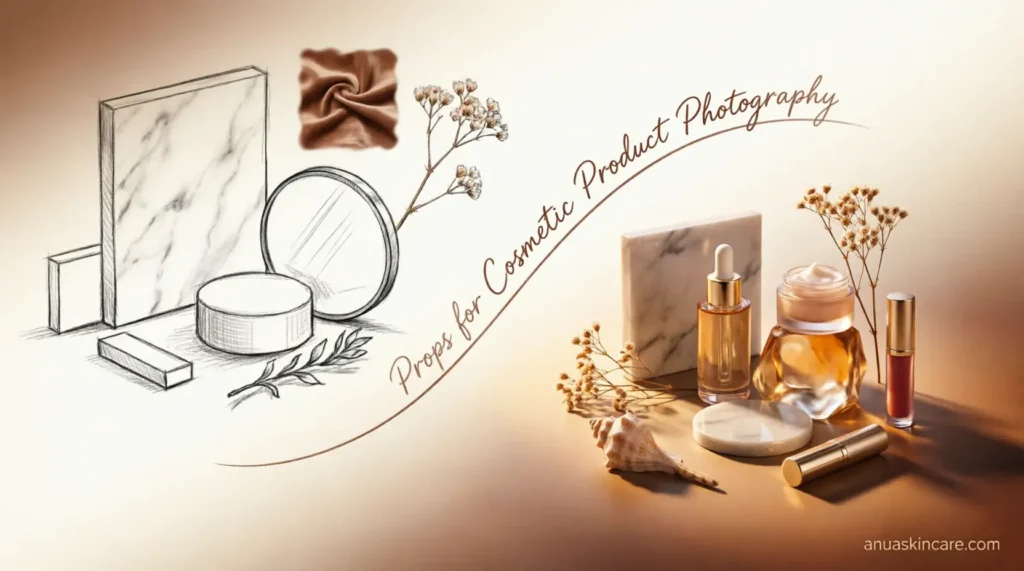
Props are not decoration. They communicate context, lifestyle, and brand identity. The wrong prop distracts. The right one adds a layer of meaning the product alone cannot convey.
Effective prop categories for makeup and beauty photography:
- Natural elements: dried florals, fresh botanicals, leaves, raw ingredients, fruit slices
- Lifestyle objects: silk fabric, linen, brushes, mirrors, vintage compacts, pearl jewelry
- Textural materials: marble slabs, stone tiles, brushed concrete, aged wood
- Atmospheric additions: candles, smoke, fine glitter on a surface, water mist
When selecting props, ask whether each item adds meaning or simply fills space. Every element in the frame should earn its place.
Backgrounds for Makeup Photography
Background selection has an enormous impact on the mood, tone, and brand perception of a cosmetic image.
Solid Color Backgrounds
Clean and versatile. White reads as clinical and premium. Black creates drama and luxury. Pastel tones feel soft and approachable. Bold colors like deep emerald or terracotta can position a brand as modern and fashion-forward.
If a brand has specific colors in their brand guidelines, always request the exact HEX code before sourcing backgrounds. Color accuracy matters significantly in cosmetic photography.
Textured Backgrounds
Textured backgrounds add tactile depth to images, particularly useful in close-up and macro cosmetic photography. Options include:
- Brushed linen or velvet fabric
- Polished marble or stone
- Rough concrete or plaster
- Crinkled metallic paper
Reflective Surfaces
White acrylic, mirrored panels, and glass surfaces create natural reflections below the product that add dimension and a high-end feel without needing complex lighting setups.
Pre-Shoot Preparation for Cosmetic Photography
This section is frequently overlooked in photography guides but directly determines how smoothly a shoot runs and how much retouching is needed afterward.
- Order a thorough cleaning of the studio or shooting space the day before. Dust is the most persistent enemy in cosmetic photography.
- Unpack all products carefully and check every item against the brief before shooting begins.
- Arrange products in shooting order so the session moves efficiently.
- Clean each product with a damp cloth, then polish with a dry microfiber cloth.
- Wear white cotton gloves when handling glass or glossy packaging.
- Lay out all props and backgrounds in the order they will be used.
- Keep a supply of cleaning cloths and tissues on set at all times.
- Ensure you have extra product samples available for swatch photography, experimental compositions, or destructive shots like cut lipstick tips.
Post-Production for Beauty Product Photography
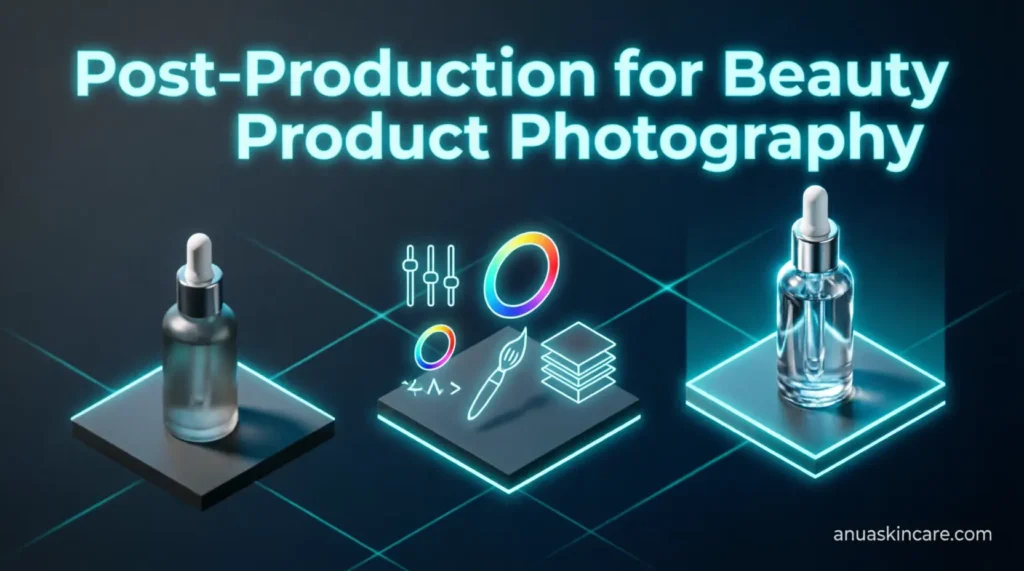
Strong post-production begins with a strong shoot. The less you need to fix in editing, the more time you have to refine and elevate.
Focus your editing on enhancement rather than correction:
- Subtle exposure adjustments to lift shadows or add depth
- White balance correction for color accuracy across the full product series
- Cropping and composition refinement for visual consistency
- Removing remaining dust, smudges, or imperfections missed on set
- Matching color tones across the entire shoot for a cohesive set of images
Avoid the temptation to fix in post what should have been solved on set. A reflection you did not control, a fingerprint you did not remove, or a background that is not truly white will all take significantly more time to correct in editing than they would have taken to address during the shoot.
Group Shots and Product Bundle Photography
Group cosmetic photography is one of the formats where beauty products differ most noticeably from other product categories. Collections of five, ten, or even twenty products in a single frame are common in cosmetic brand marketing.
For group shots to work:
- Maintain consistent lighting across all products regardless of their size differences
- Create visual hierarchy by varying heights using hidden stands or risers
- Group by color family, product type, or usage step depending on the narrative
- Ensure packaging labels face forward and are fully legible
- Keep backgrounds and props consistent with the rest of the brand shoot
Even when shooting groups, your product page will still need standalone images of each individual item. Plan your shooting schedule to capture both efficiently in a single setup.
Image Optimization for E-commerce and SEO
Great cosmetic photography loses value if it never reaches the customer. Optimizing your images for search and platform performance is the final step that most photography guides skip entirely.
- Write descriptive alt text for every image using relevant terms that describe the product, color, and context
- Use JPEG format for e-commerce listings to balance quality with file size
- Resize images to meet the specific requirements of each platform you sell on
- Maintain consistent image dimensions across all product listings for a professional storefront appearance
- Name image files descriptively before uploading rather than leaving camera-generated filenames
Common Mistakes in Makeup Product Photography
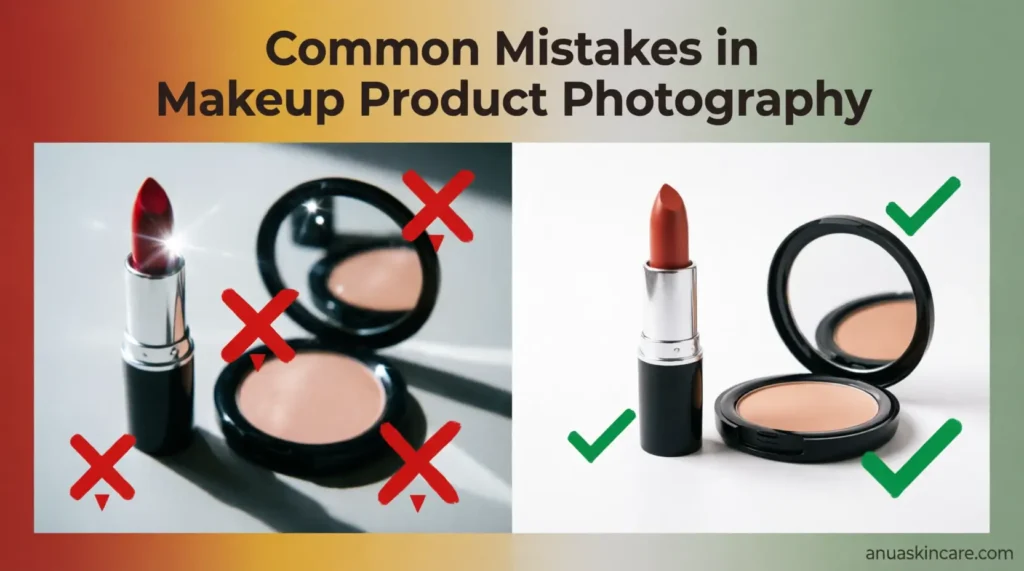
Ignoring Consistency Across a Shoot
Moving your lighting between products, changing your background mid-session, or repositioning your camera without marking its location all destroy the visual consistency that makes a professional product range look cohesive.
Set your lighting once. Lock your camera position. Adjust only the product and props between shots.
Skipping Pre-Shoot Cleaning
Dust, fingerprints, and smudges that are invisible to the naked eye become glaringly obvious under studio lighting and in high-resolution images. Budget time before every shoot for thorough product cleaning.
Using Too Many Props
Props should support the product, not compete with it. A frame cluttered with flowers, fabric, ingredient slices, and lifestyle objects simultaneously pulls attention away from what you are actually trying to sell.
Shooting Low Resolution
Cosmetic products are small and detailed. High resolution is not optional in this category. Consumers zoom in on product images to check texture, finish, and quality. If your images cannot withstand that level of scrutiny, they are losing you sales.
Frequently Asked Questions About Makeup Product Photography
What is the best lighting for cosmetic product photography?
Soft, diffused light is the most versatile starting point for beauty photography. A single large softbox positioned at roughly 45 degrees to the product produces clean, controllable results. As you gain experience, adding a fill light and a rim light gives you fuller control over shadows and product separation.
Do I need a professional studio to shoot beauty products?
Not necessarily. A clean space with a large window, a tripod, a white or neutral background, and careful product preparation can produce strong images for smaller brands and e-commerce listings. However, for campaigns, launch imagery, or highly reflective products, a professional studio setup produces significantly more consistent results.
How do I photograph glossy lipstick without unwanted reflections?
Wear gloves throughout handling, use diffused rather than direct light, and position your light source so its reflection falls outside the camera frame. Semi-transparent white material placed around the product can act as a natural diffuser and softens the reflections you cannot eliminate entirely.
What backgrounds work best for skincare product photography?
White and light neutral backgrounds are the most commonly used in skincare photography because they communicate cleanliness and trust. For brands positioning themselves as premium or natural, marble, stone, and botanical backgrounds are highly effective alternatives.
How many images do I need for a cosmetic product listing?
A complete e-commerce cosmetic listing typically includes a clean white background hero shot, two to three alternative angle shots, at least one texture or detail close-up, a lifestyle or in-use image, and a group shot if the product is part of a range.
What props work best for makeup photography?
Props that align with the product’s ingredients, target demographic, or brand aesthetic work best. Natural botanicals work for organic skincare brands. Fashion-forward lifestyle objects work for editorial makeup. The key is that every prop should reinforce the brand message rather than distract from it.
Conclusion
Makeup product photography is one of the most nuanced and technically demanding categories in commercial photography. Every surface behaves differently under light. Every finish demands a different approach. Every brand communicates a different story through its imagery.
What separates images that sell from images that just exist is the accumulation of deliberate choices: the right light for the surface, the right background for the brand, the right prop for the story, and the right preparation to make all of it work together efficiently.
Start with what you have. One light, one background, and one well-prepared product can produce images far stronger than a cluttered setup shot carelessly. As your understanding deepens, layer in more techniques, experiment with more surfaces and finishes, and build toward the kind of visual consistency that makes a product range look like it belongs in a magazine.
Because in beauty, the image is always the first conversation between a brand and its customer. Make it count.